
Contact Dr Tocilj
Let’s discuss your injury.
Send us a short description of your problem, previous treatment and the best number to reach you. Due to the high number of enquiries and limited clinical time, initial contact is preferably made by email.
Before contacting us
Help us understand your case.
A concise first message allows us to assess the nature of the problem and decide on the most appropriate next step. Our team will contact you after reviewing the information provided.
Send your MRI scans securely.
MR examinations are often too large to send by email. Please first copy the complete examination from the CD, USB drive or imaging portal to your computer, compress the folder into a ZIP file, and then upload it through our dedicated WeTransfer portal.
Do not send only screenshots or selected images. The full examination folder should include all DICOM images and series. You may also include the radiologist’s written report as a separate PDF.
Step-by-step instructions
How to copy, compress and send your MRI
Open the CD or USB drive
First locate the files that contain the complete examination.
- Insert the MRI CD or USB drive into your computer.
- Windows: open
File Explorer, selectThis PC, then double-click the CD or USB drive. - Mac: open
Finder, then click the CD or USB drive underLocations. - If an MRI viewing program opens automatically, close or minimise it and open the CD or USB drive as described above.
Copy everything to the Desktop
Copy the complete contents—not just the images that are visible in the viewer.
- Click inside the opened CD or USB window.
- Select everything: press
Ctrl + Aon Windows orCommand + Aon Mac. - Copy the selected files: press
Ctrl + Con Windows orCommand + Con Mac. - Create a new folder on your Desktop and name it with the patient’s name, body region and examination date—for example:
John-Smith-knee-2026-08-16. - Open the new folder and paste: press
Ctrl + Von Windows orCommand + Von Mac. - Wait until copying is completely finished. Do not remove the CD or USB drive while the progress window is still visible.
Turn the folder into one ZIP file
The folder must be compressed only after it has been copied to your computer.
- Return to the Desktop and find the folder you created.
- Windows 11: right-click the folder and choose
Compress to ZIP file. - Older Windows: right-click the folder and choose
Send to→Compressed (zipped) folder. - Mac: right-click or Control-click the folder and choose
Compress “[folder name]”. - Wait until a new file with the same name and the ending
.zipappears on the Desktop. If the examination is large, this may take several minutes.
Upload the ZIP file
Send the newly created ZIP file through our dedicated upload page.
- Click Upload MRI via WeTransfer above.
- Choose
Add filesor the+button and select the ZIP file from your Desktop. Do not select the original folder. - In the message, enter the patient’s full name, telephone number, examined body region and examination date.
- Start the transfer and keep the browser window open until the upload reaches 100% and a confirmation message appears.
Clinic locations
Choose the location that suits you.
For appointments and clinical enquiries, please contact our Belgrade office.

Belgrade, Serbia
Belgrade Waterfront — Eterna
Luke Ćelovića Trebinjca 31, Entrance B
11000 Belgrade, Serbia
Physical therapy and treatment enquiries
+381 64 003 3033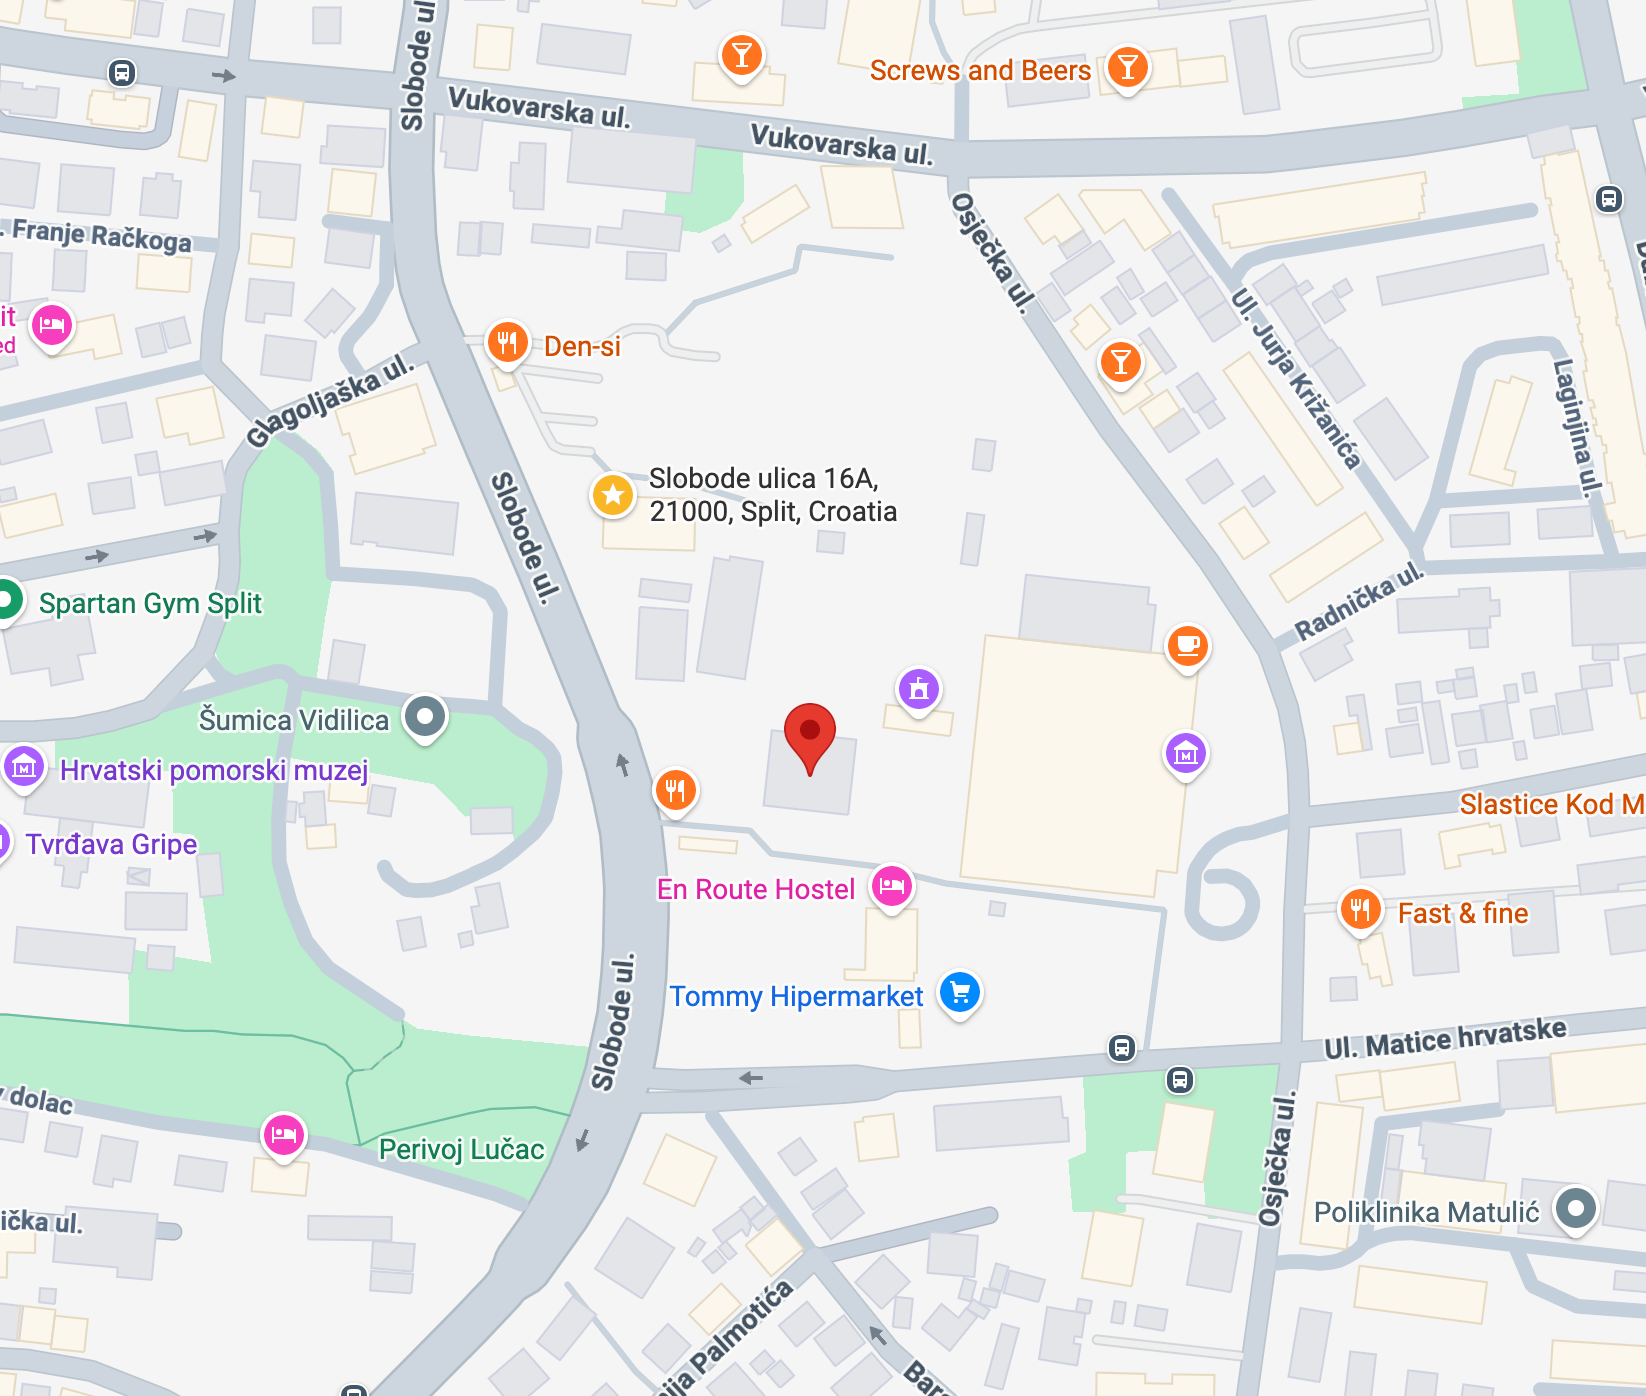
Split, Croatia
Poliklinika Diomed Larem
Ulica slobode 16a
21000 Split, Croatia
Your treatment plan should be as individual as your injury.
Contact us with a short summary of your case. If an MRI is available, prepare and send the complete examination using the instructions above.